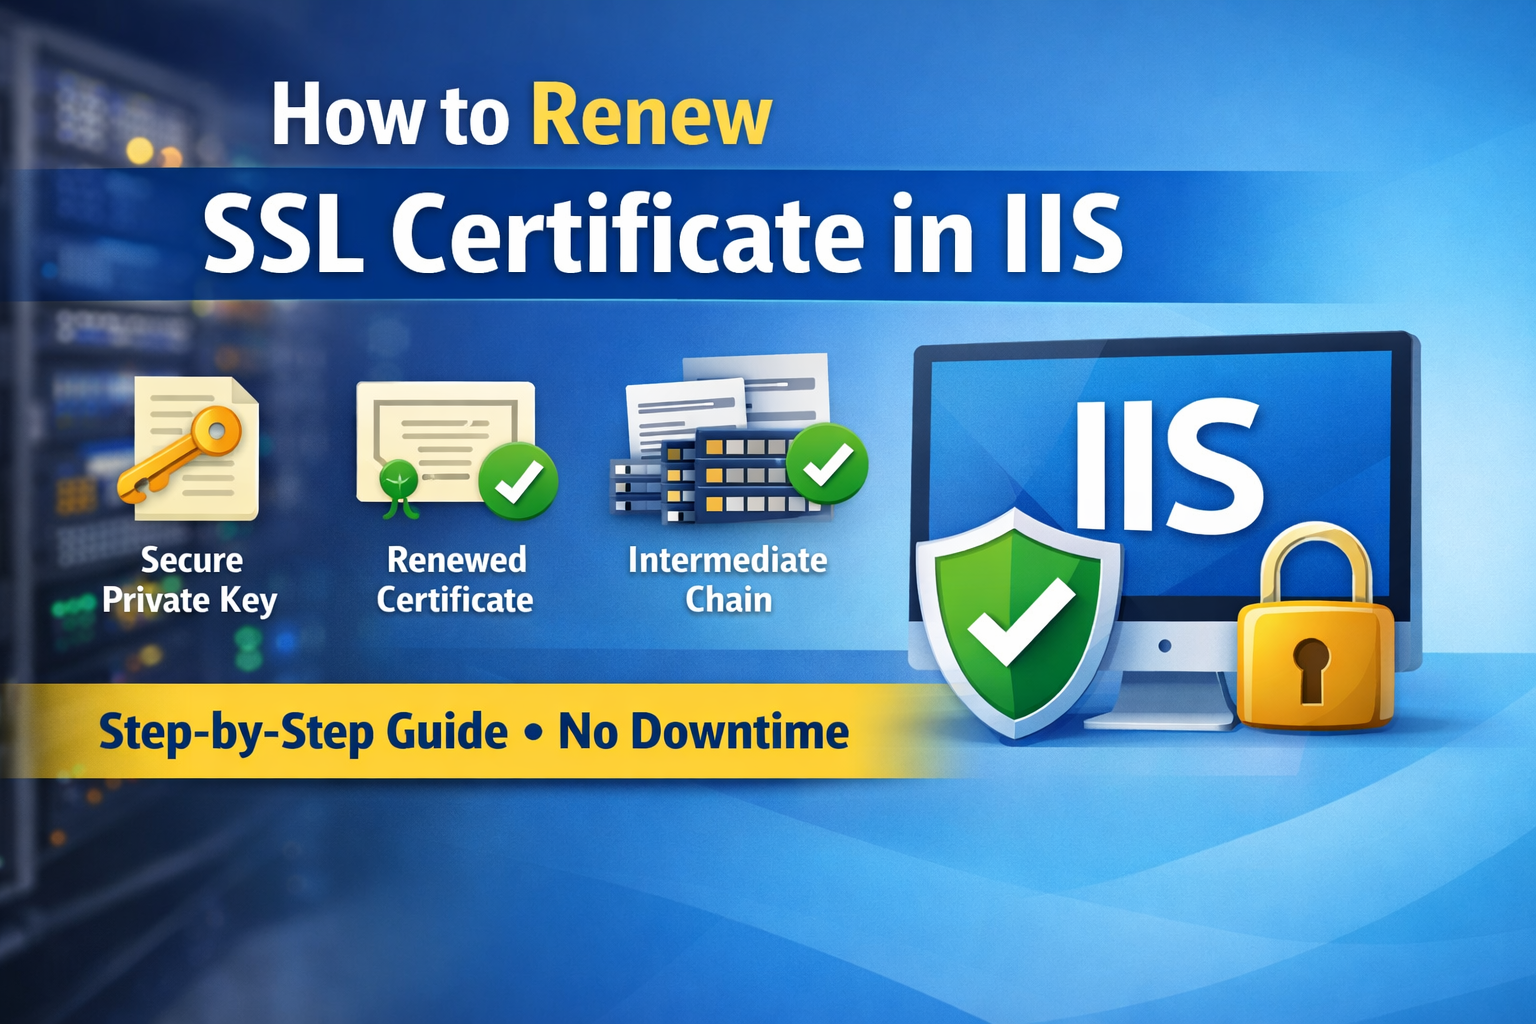
Renew SSL Certificate in IIS is a critical maintenance task that directly impacts website security, browser trust, and application availability. If handled incorrectly, it can cause HTTPS failures, API disruptions, and immediate loss of user confidence.
This guide explains how to renew an SSL certificate in IIS using a safe, enterprise-grade, zero-downtime approach that works across all major Certificate Authorities.
Table of Contents
- What Does SSL Certificate Renewal in IIS Mean?
- Prerequisites for Renewing SSL Certificate in IIS
- Understanding Private Key Reuse vs Rotation
- Step-by-Step: How to Renew SSL Certificate in IIS
- Importing Renewed SSL Certificate into IIS
- Binding the New SSL Certificate to IIS Website
- Common IIS SSL Renewal Mistakes to Avoid
- Best Practices for SSL Certificate Management
- Final Checklist Before Going Live
- Conclusion
What Does SSL Certificate Renewal in IIS Mean?
SSL certificate renewal in IIS involves replacing an expiring certificate with a newly issued one without breaking the existing HTTPS configuration.
A successful IIS SSL renewal ensures:
- Secure HTTPS communication
- Browser trust continuity
- No service interruption
- No API or application failures
The key dependency in this process is the private key.
Prerequisites for Renewing SSL Certificate in IIS
Before starting, ensure you have:
- An existing SSL certificate installed in IIS
- The renewed SSL certificate issued by your Certificate Authority
- Intermediate certificate chain (P7B or PEM)
- Access to the private key (usually from an existing PFX file)
- Administrator access to the IIS server
⚠️ Without the private key, IIS cannot complete the SSL certificate renewal.
Understanding Private Key Reuse vs Rotation (Critical)
When you renew an SSL certificate, one of the following applies:
Scenario 1: CSR Was Reused
- Private key remains valid
- SSL renewal can reuse the existing key
- Safest path for zero downtime
Scenario 2: New CSR Was Generated
- New private key is required
- Old key becomes invalid
- IIS bindings must be updated carefully
👉 IIS will only accept a renewed SSL certificate if it matches the private key.
This is a cryptographic requirement—not an IIS limitation.
Step-by-Step: How to Renew SSL Certificate in IIS
Step 1: Validate Certificate Compatibility (Recommended)
Before importing anything into IIS, confirm that the renewed SSL certificate matches the existing private key.
This step prevents:
- “Private key not found” errors
- Broken HTTPS bindings
- Emergency rollbacks
If the certificate does not match the private key, stop and reissue it correctly.
Step 2: Secure the Existing Private Key
In most IIS environments, the private key is stored inside a PFX file.
Best practices:
- Handle private keys only on secure machines
- Never email or upload keys
- Delete temporary key files immediately after use
This private key will be reused only if the CSR was reused during renewal.
Step 3: Prepare Intermediate Certificates
Most SSL certificates require intermediate certificates to establish trust.
Ensure:
- All CA-provided intermediates are included
- The chain is complete
- Formats are compatible with IIS
Missing intermediates are a leading cause of browser trust warnings.
Step 4: Generate a New PFX File (Core Step)
The renewed SSL certificate must be bundled into a new PFX file containing:
- The existing private key
- The renewed SSL certificate
- The complete intermediate chain
This PFX becomes the production-ready certificate package for IIS.
Importing Renewed SSL Certificate into IIS
Step 5: Verify the New Certificate Package
Before IIS import, verify that the PFX contains:
- One private key
- One renewed SSL certificate (new expiry date)
- One or more intermediate certificates
Verification prevents deployment failures.
Step 6: Import Certificate into IIS
Import the new PFX into:
Certificates (Local Computer) → Personal → Certificates
Confirm:
- The certificate shows “You have a private key”
- Intermediates appear under Intermediate Certification Authorities
Binding the New SSL Certificate to IIS Website
Step 7: Update IIS HTTPS Binding
- Open IIS Manager
- Select the website
- Click Bindings
- Edit HTTPS binding
- Select the renewed SSL certificate
- Save
No IIS restart is required.
Optionally recycle the application pool.
Common IIS SSL Renewal Mistakes to Avoid
❌ Importing only the .crt file
❌ Losing the private key
❌ Missing intermediate certificates
❌ Generating a new CSR unintentionally
❌ Restarting IIS unnecessarily
❌ Renewing directly in production without validation
Best Practices for SSL Certificate Management in IIS
- Maintain a certificate inventory
- Track expiry dates proactively
- Rotate private keys periodically
- Store private keys securely
- Document renewal procedures
- Automate reminders or renewals where possible
SSL certificates are security assets, not one-time configurations.
Final Checklist Before Going Live
- ✅ HTTPS loads without warnings
- ✅ Certificate expiry date updated
- ✅ Full trust chain validated
- ✅ APIs and integrations tested
- ✅ No IIS binding errors
Conclusion
Renewing an SSL certificate in IIS is not just an administrative task—it is a security-critical operation.
By following a structured, private-key-aware process, you ensure:
- Zero downtime
- Continued browser trust
- Stable IIS bindings
- Production-safe deployment
This guide provides a repeatable, enterprise-ready method to renew SSL certificates in IIS with confidence.
Need Professional IIS or SSL Support?
Rannlab Technologies helps organizations with:
- IIS & Windows Server management
- SSL certificate lifecycle automation
- Secure .NET and API deployments
- Enterprise infrastructure audits
👉 Contact Rannlab to secure your IIS environment professionally.